
Garmin Watch Faces: Custom Fonts
December 18th, 2020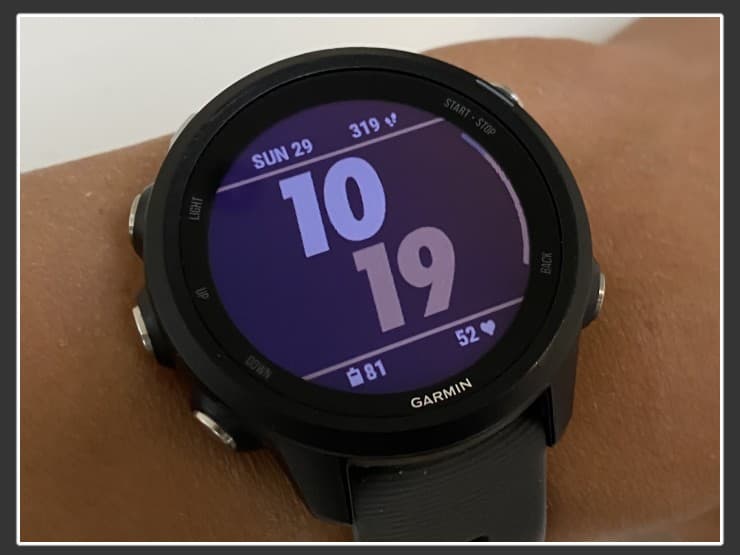
I recently spent some time developing a custom watch face for my Garmin Forerunner 245. Because I was mimicking the Apple Watch Nike+ watchface, I needed to import a custom font face for the numbers. Unfortunately, Garmin doesn’t make importing fonts easy, especially on Macs. Here’s how I worked around Garmin’s limitations to build my watch face!
Limitations
Garmin watches don’t support TrueType, OpenType, or any other modern standards. Instead, they only support .fnt files, an archaic bitmap font format. Garmin recommends BMFont which can convert TTFs to FNTs. Unfortunately, BMFont has some limitations:
- It doesn’t support OTF files, and TTF->OTF converters don’t always work well
- BMFont doesn’t support Macs
Enter (custom) FontBuilder
FontBuilder is a multiplatform bitmap font generator that supports both TTF and OTF files. It seemed perfect for my needs! Unfortunately, vanilla FontBuilder isn’t quite compatible with Garmin watches. Since FontBuilder doesn’t seem to be actively maintained, I forked FontBuilder with the following changes to add support for Garmin watches:
- Fixed Homebrew support by adding
/usr/local/libto the list of libraries in the QT project file. - Added
chars count=NUM_CHARSto the output FNT file. - Antialiased by setting RGB values instead of using the alpha channel (which Garmin watches don’t understand). For example, if a pixel should be 75% transparent, I set its ARGB value to
0xFFC0C0C0instead of0xC0FFFFFF.
Custom font workflow
Here’s how to use a custom font in your Garmin watch face:
-
Export a FNT file using my FontBuilder fork
-
Add the font to your watch face’s
resources:<font id="my_font" filename="my_filename.fnt" antialias="true" />- Make sure to set
antialias="true"or your font will look silly - If you know which glyphs you need for your watch face, you can use the
filterattribute:<font id="demo" filter="0123456789:" ... />
- Make sure to set
-
Load your resource in
onLayout():
font = Toybox.WatchUi.loadResource(Rez.Fonts.id_my_font)
- Use your font in
onUpdate()by callingdc.drawText(x, y, font, ...): - Rebuild your project for the simulator
- If all goes well, you should see your custom font appear in the simulator!